
How to Set Up ImageKit: A Free CDN That Automatically Converts Images to WebP
Published on April 7, 2026
This article is the English translation of the Japanese original.
Want to add 20+ images to a blog post but dread converting each one to WebP by hand? ImageKit solves exactly that problem. In this guide, we walk through the entire ImageKit setup — from account registration to initial configuration — with screenshots at every step. It's a handy reference for engineers looking to streamline image delivery.
What Is ImageKit?
ImageKit is a service that converts and delivers images for web applications in any format you specify. By pairing it with existing storage like AWS S3 or Supabase Storage, you can serve images through a proxy that transforms them into WebP (or other formats) on the fly via a CDN.
For image-heavy pages such as blog posts, WebP delivery is usually the right call — but converting every image manually is a huge hassle. With ImageKit, you can leave the originals in your storage and let the service automatically convert them to the optimal format at delivery time.
Note: The free tier offers up to 20 GB per month, which is generous enough to comfortably support personal projects and small-to-mid-sized services.
Official site: https://imagekit.io/
Before You Begin
You'll need just two things to get started:
- An email address (used for account registration)
- A storage backend to connect — such as
AWS S3orSupabase Storage(you can also configure this later)
Step 1: Click "Sign Up" on the Top Page
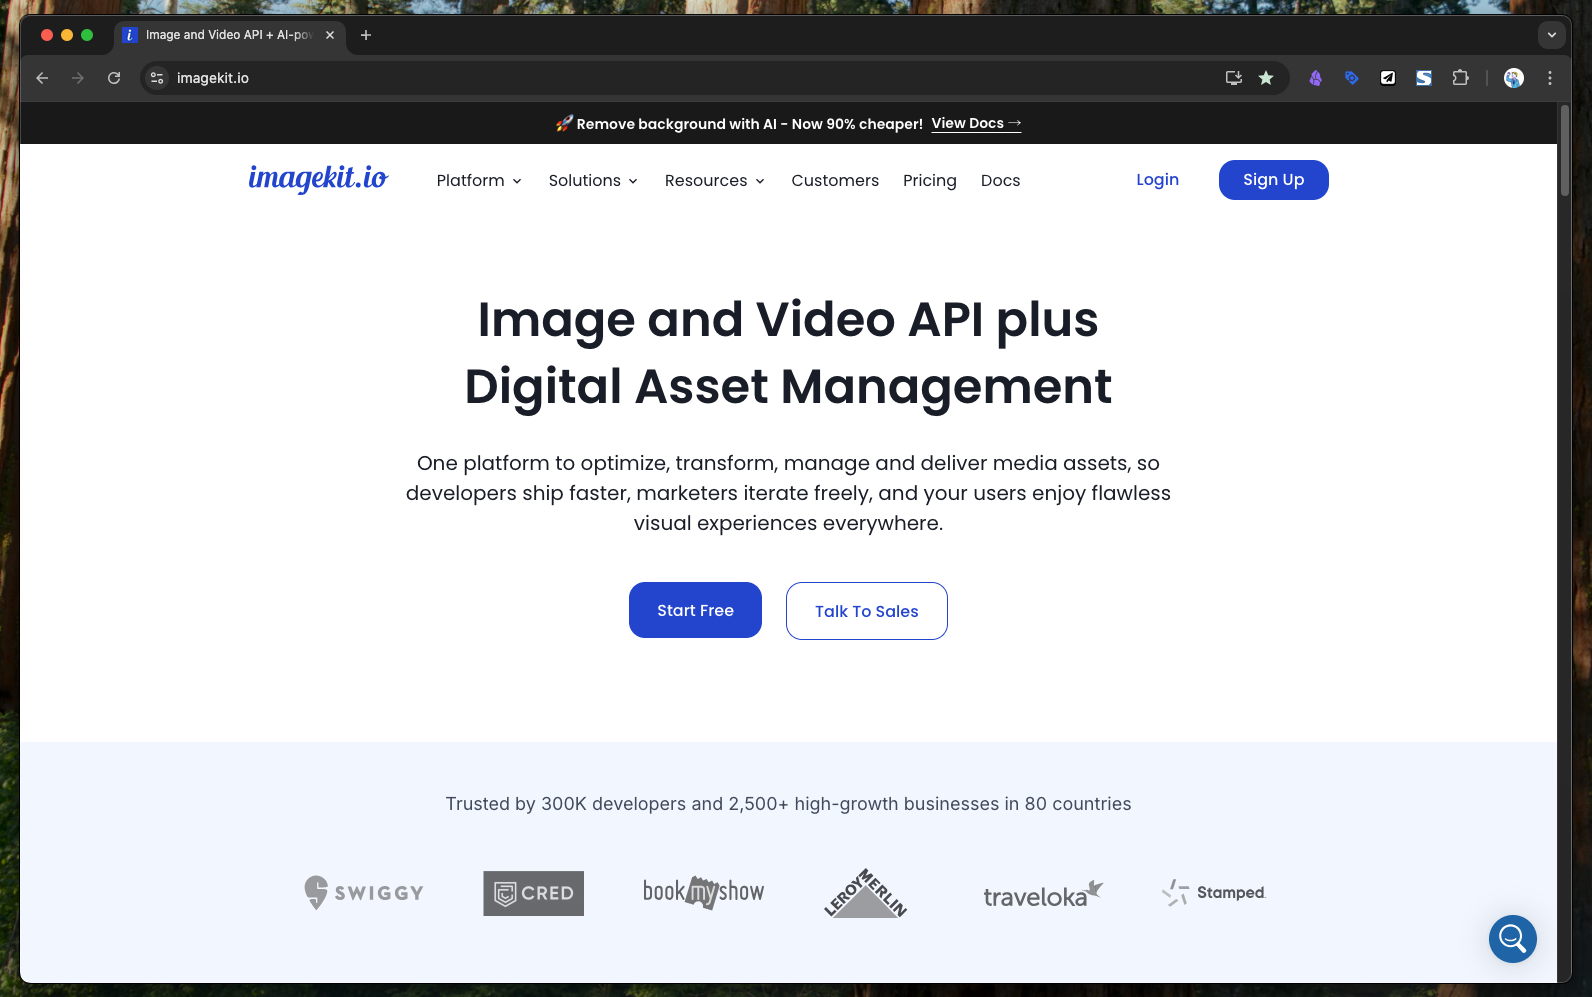
Head to the official site at https://imagekit.io/ and click the Sign Up button in the top right corner.
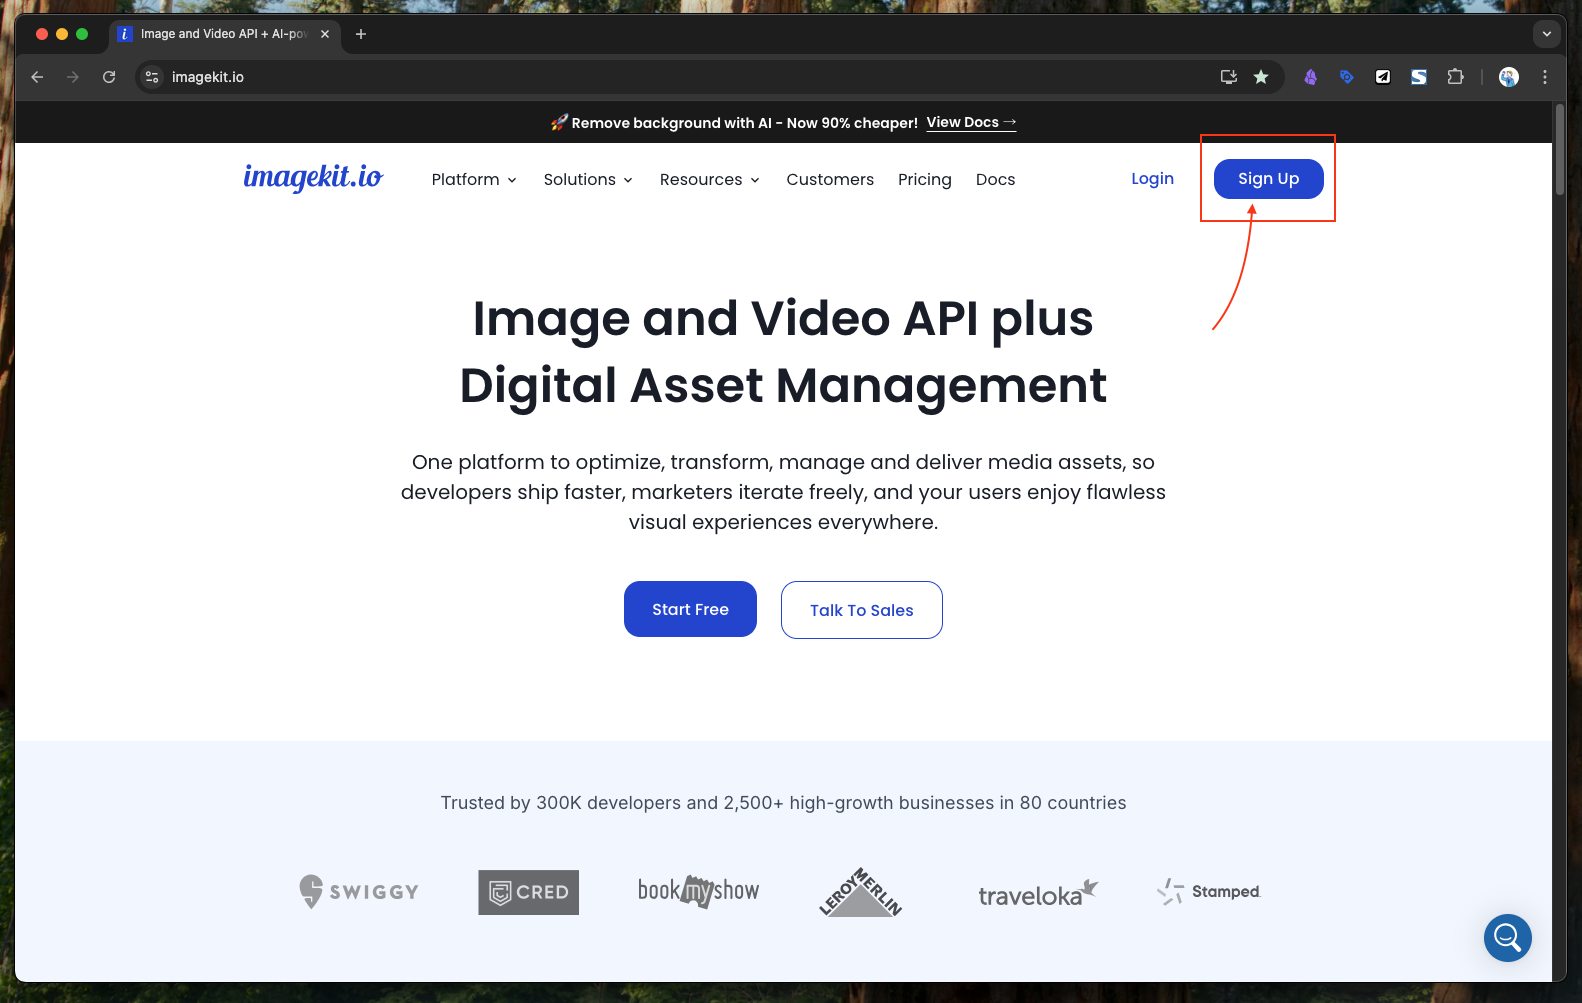 Step 1: Click the "Sign Up" button in the top right of the home page.
Step 2: Fill Out the Registration Form
The registration screen appears. Fill in the required fields and click Submit.
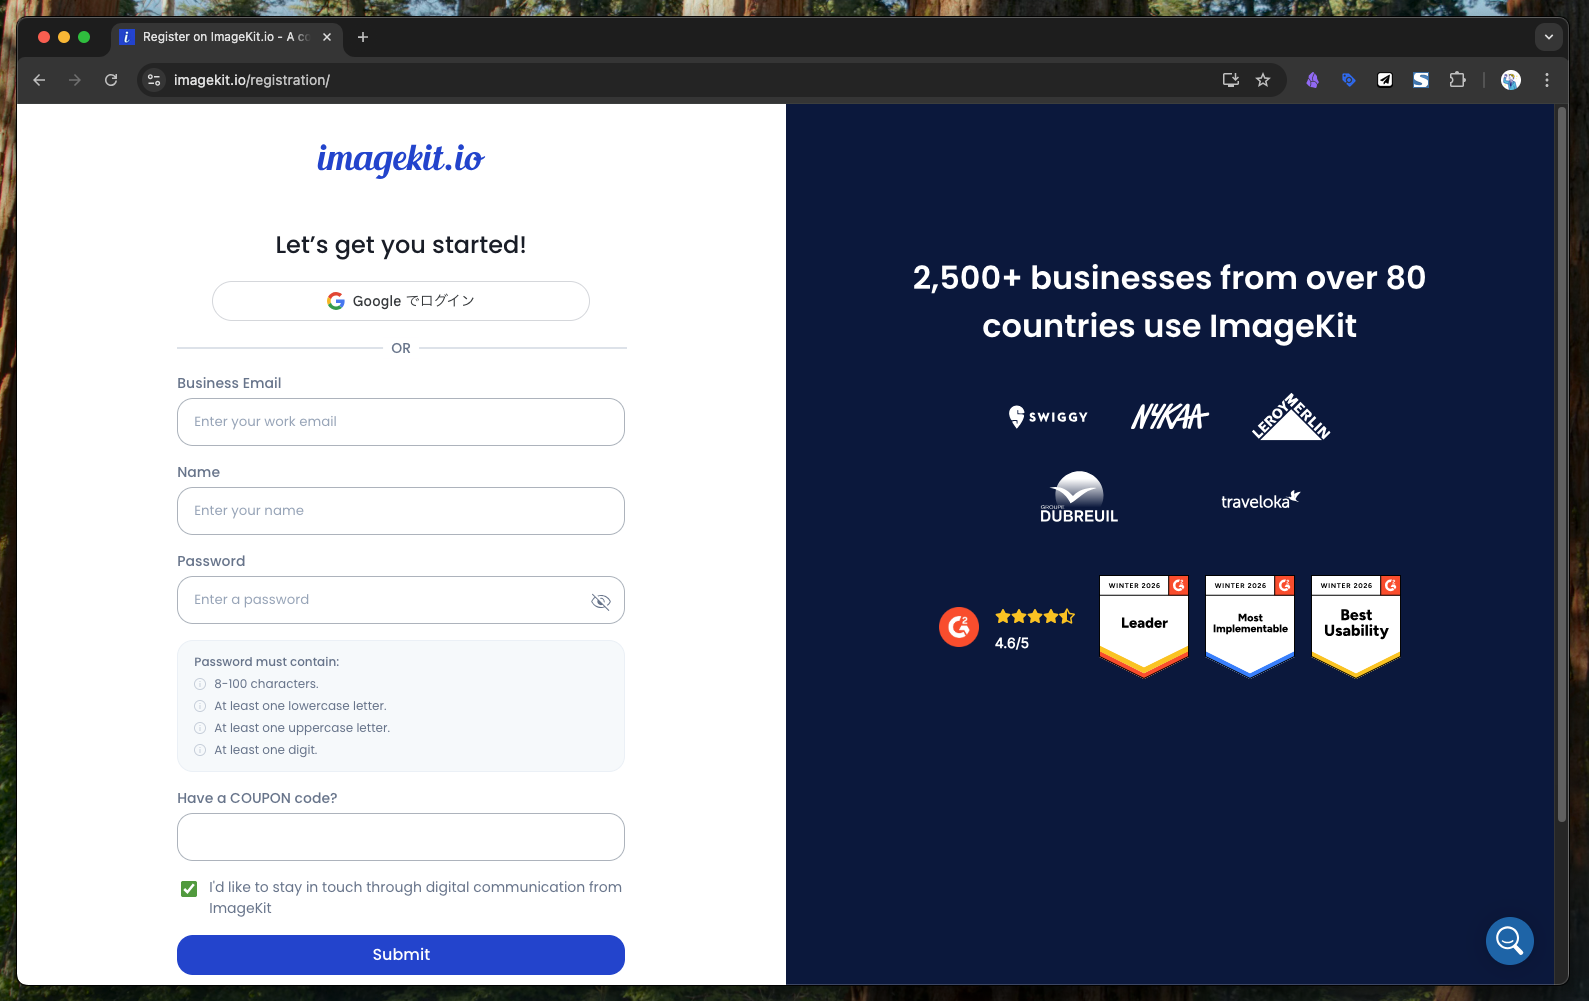 Step 2: On the registration screen, complete the form and click "Submit."
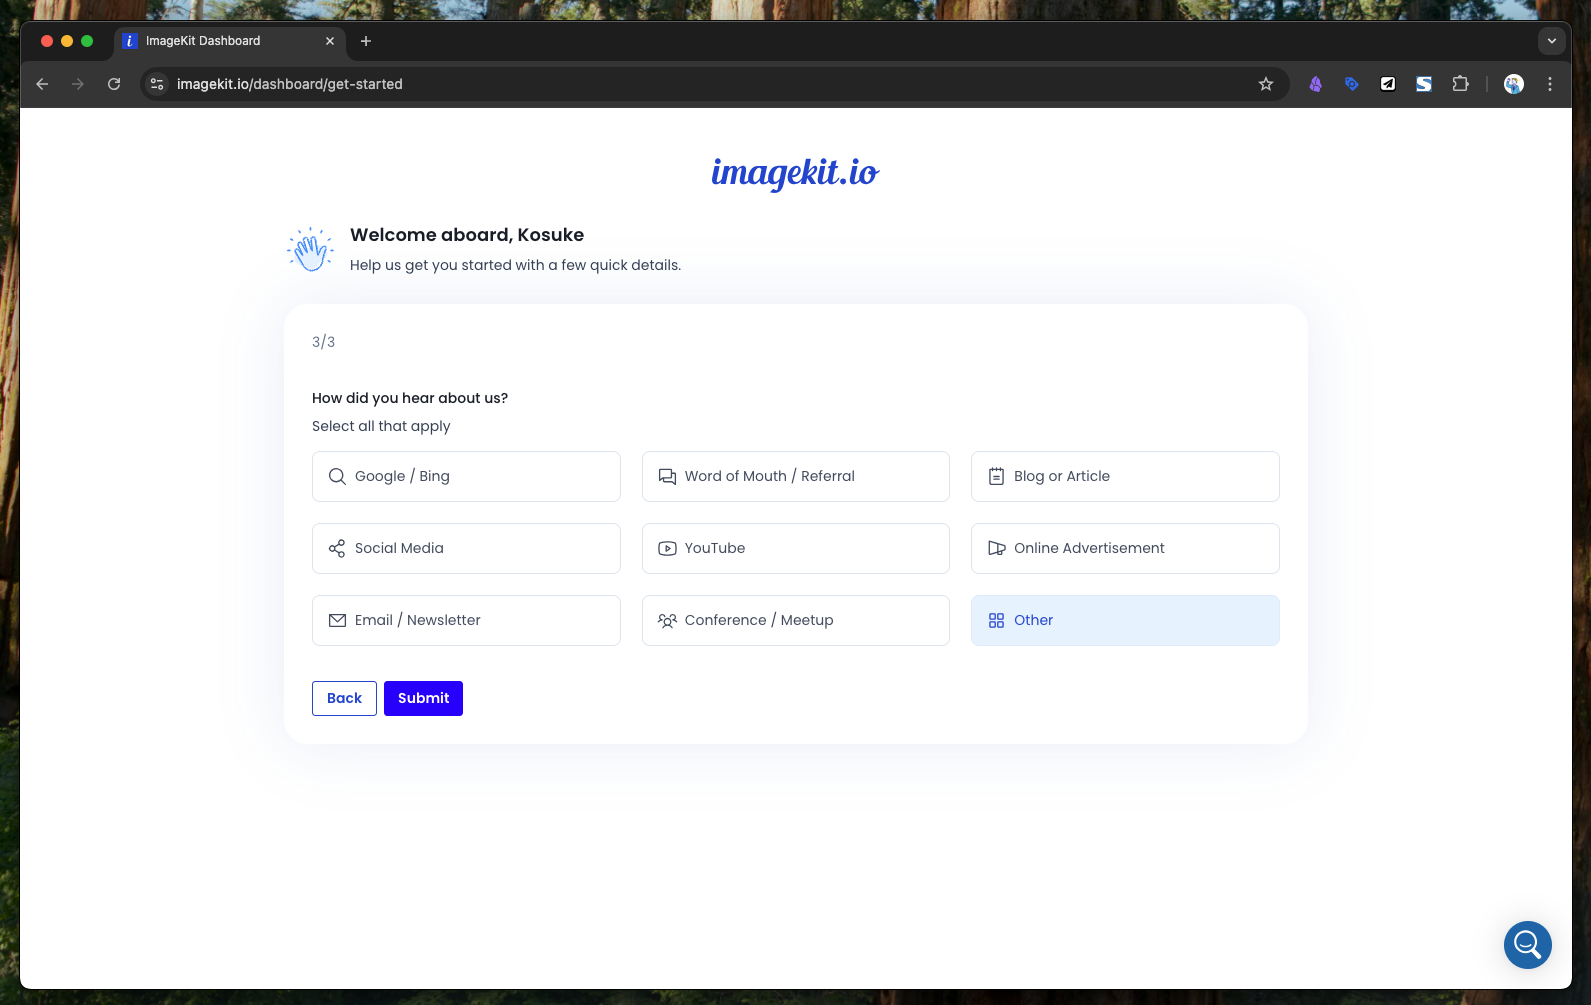
Step 3: Answer the Survey
As part of registration, a short survey appears asking about your intended use. Pick the answers that fit your situation and continue.
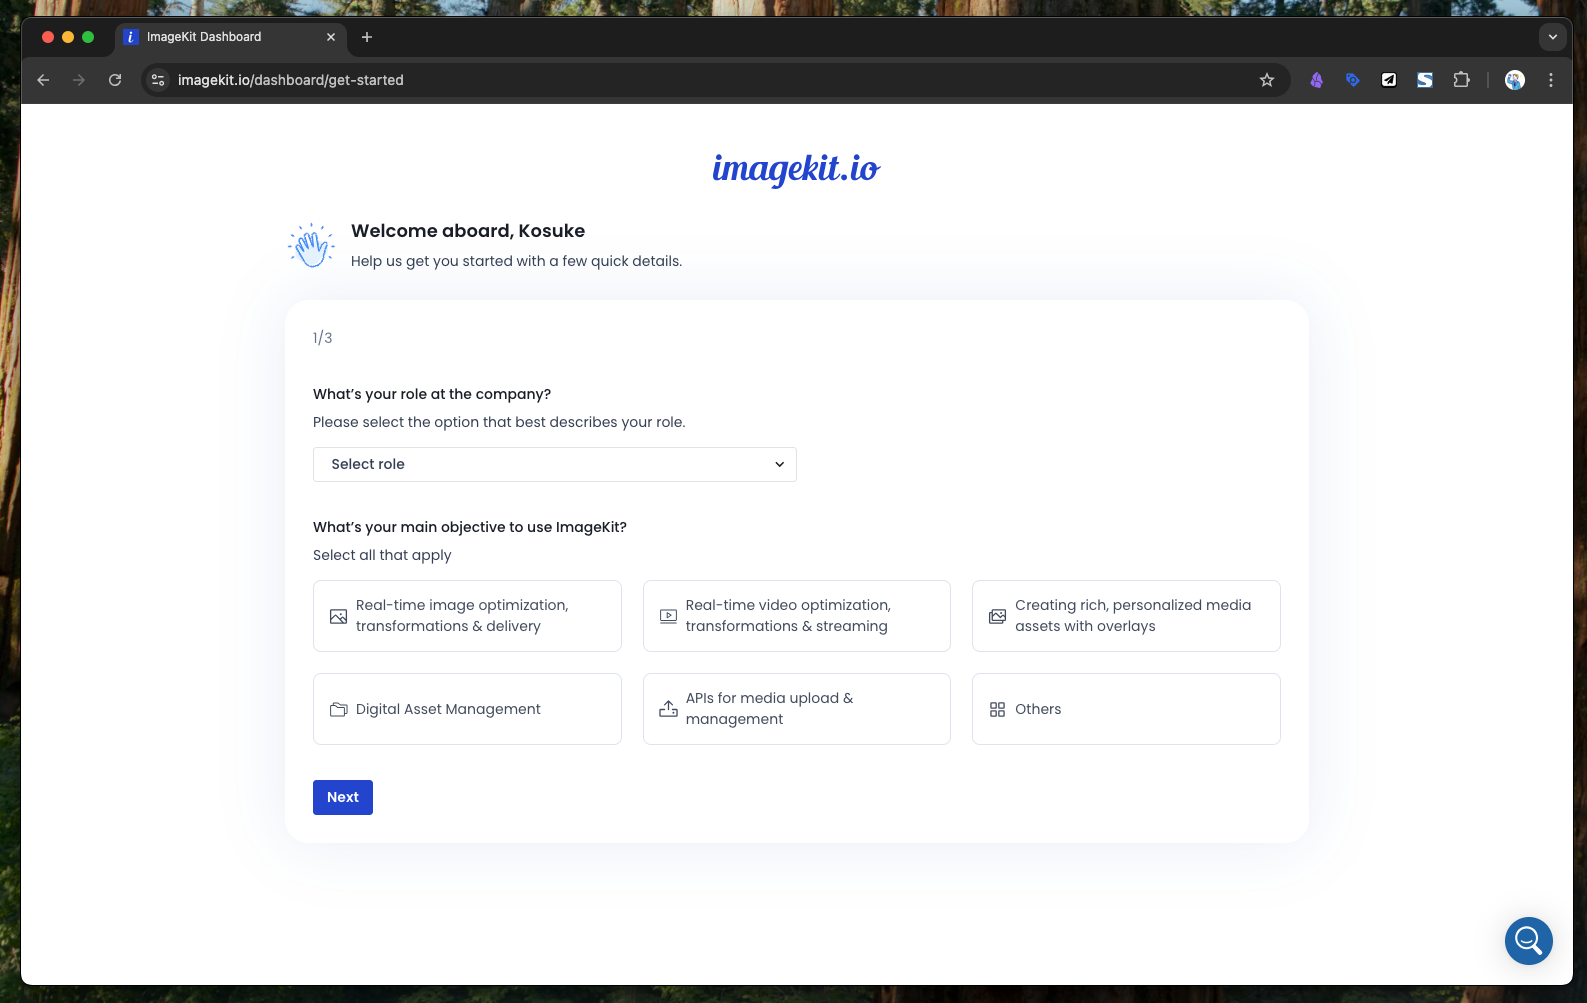 Step 3: A survey screen appears.
Step 4: Choose Your ID (Identifier)
Next, decide on the ID you'll use within ImageKit. This ID becomes part of the image delivery URL, so we recommend setting it to a clear, easy-to-read alphanumeric string.
Tip: It's hard to change later, so choose carefully — ideally something that matches your service or project name.
A typical delivery URL looks like this:
https://ik.imagekit.io/<your-id>/path/to/image.png
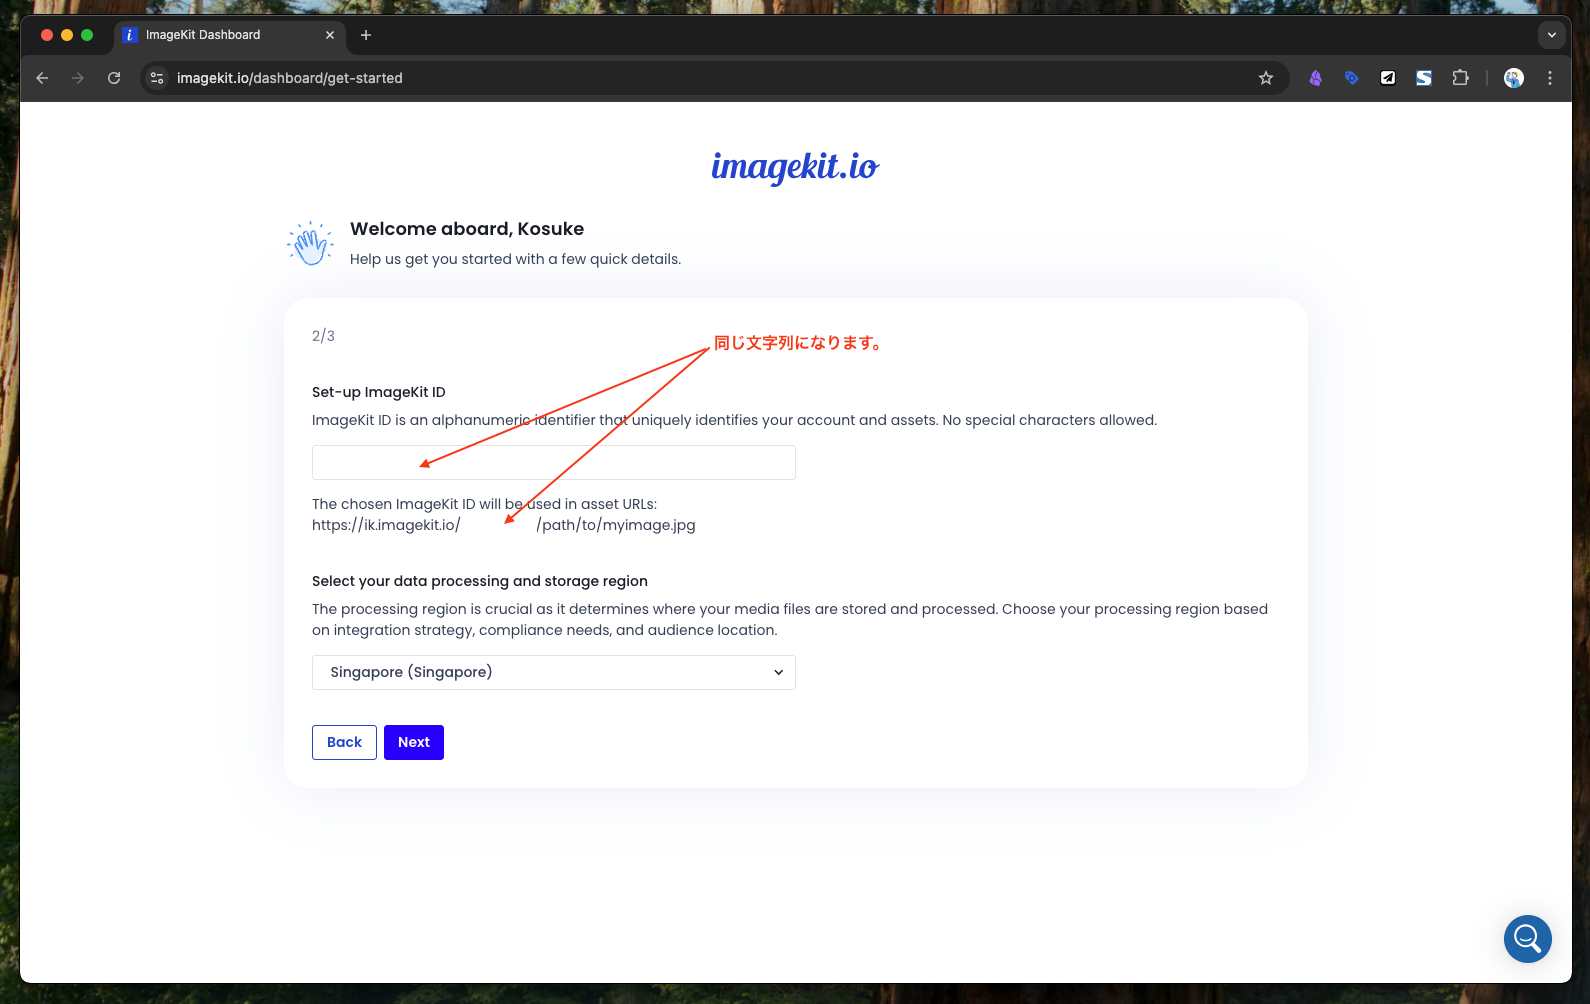 Step 4: Choose your ID. Since it becomes part of the image delivery URL, an easy-to-read alphanumeric string is recommended.
Step 5: Answer the Survey Again
Another survey screen appears. Answer it appropriately and click Submit.
 Step 5: Another survey. Answer it appropriately and click Submit to finish.
Step 6: Setup Complete
That's it — setup is complete. Nice work! From here, you can head to the dashboard to connect your storage and start delivering images with automatic WebP conversion.
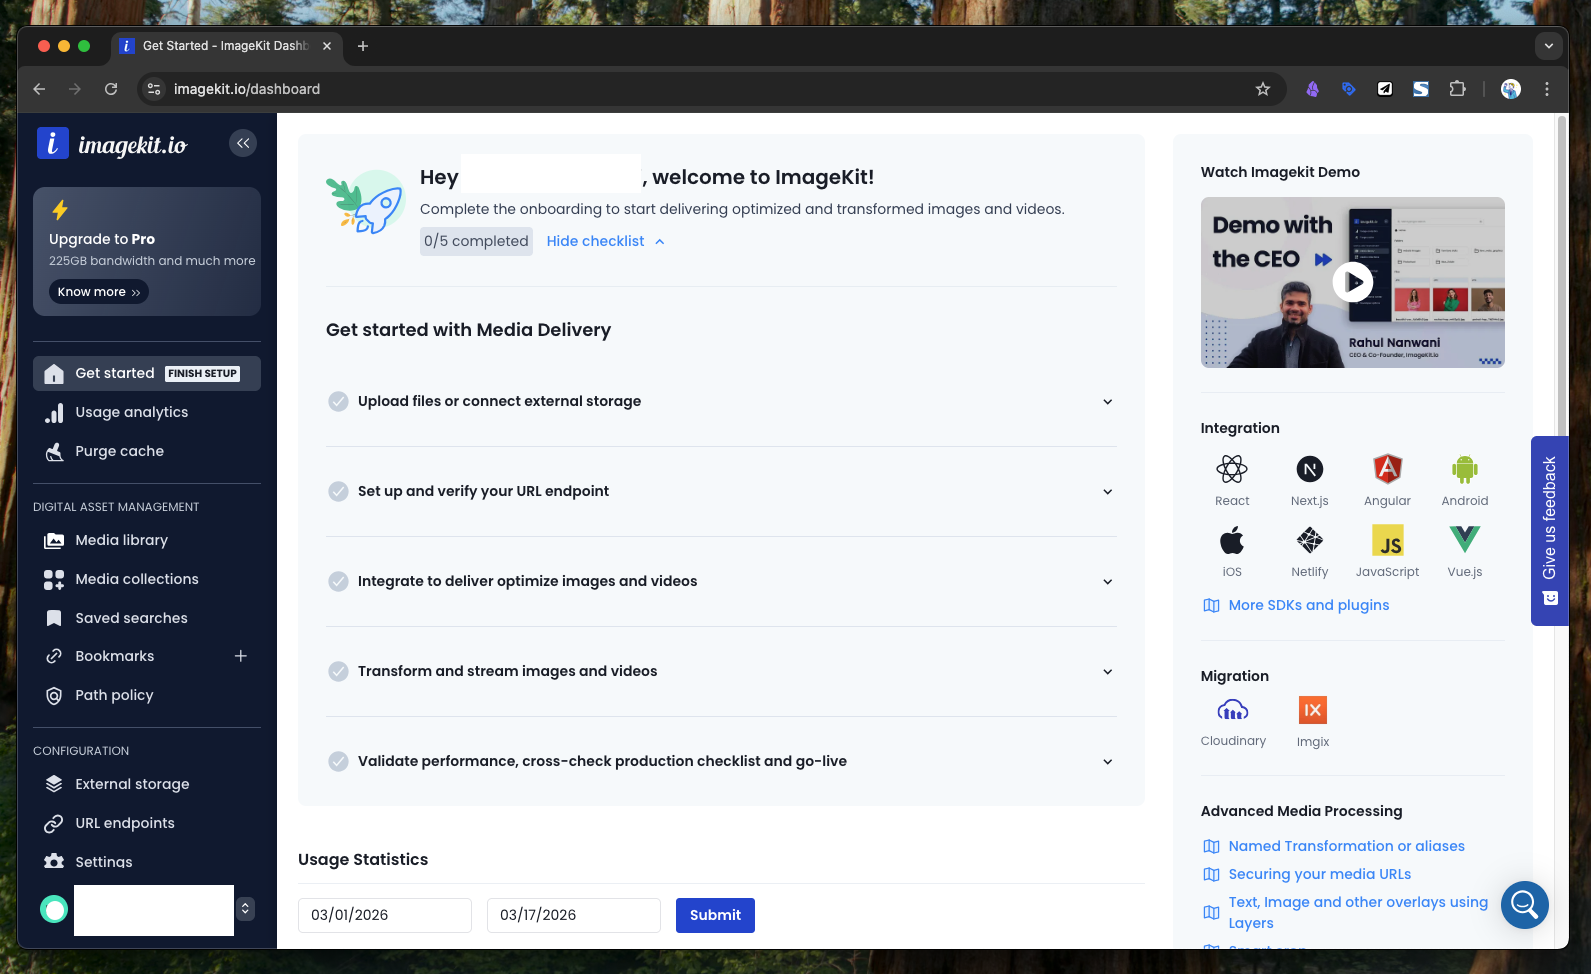 Step 6: Setup is complete. Nice work!
Summary
With ImageKit, you can pair your existing storage — AWS S3, Supabase Storage, and others — with an automatic WebP conversion pipeline delivered over a CDN. Even on image-heavy pages like blog posts, you no longer need to convert images one by one, and you can speed up page loads while reducing operational overhead at the same time.
The free tier offers a generous 20 GB per month, making it a great option to try out on a personal project first.
Service Information
| Item | Detail |
|---|---|
| Official site | https://imagekit.io/ |
| Free plan | Up to 20 GB per month |
| Main use cases | Image format conversion and CDN delivery |
Gallery